Writing your own R package
Contents
I made this post for an introduction to building and documenting your own R packages for the Davis R-users’ group. It’ll get you started on making basic R packages, and once you get the flavor of what it’s all about, you can unleash your inner R genie to create your own tools!

The tools you’re going to need for this are:
Git and github - Karl Broman has great, succinct instructions for getting started with both
R packages
- devtools - facilitates the creation, publishing, and installation of your package
- roxygen2 - to easily document your packaage contents
Let’s get started
Once you’ve installed the libraries, create your package in the directory you want it to be placed:
install.packages("devtools")
devtools::install_github("klutometis/roxygen")
library(roxygen2)

# Create a demo package
devtools::create("package_path/demo")
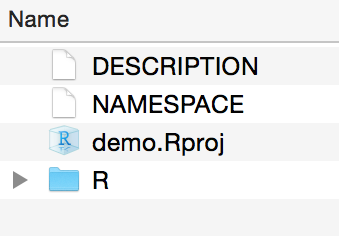
A project is automatically created within that folder, along with the basic skeleton of an R package:
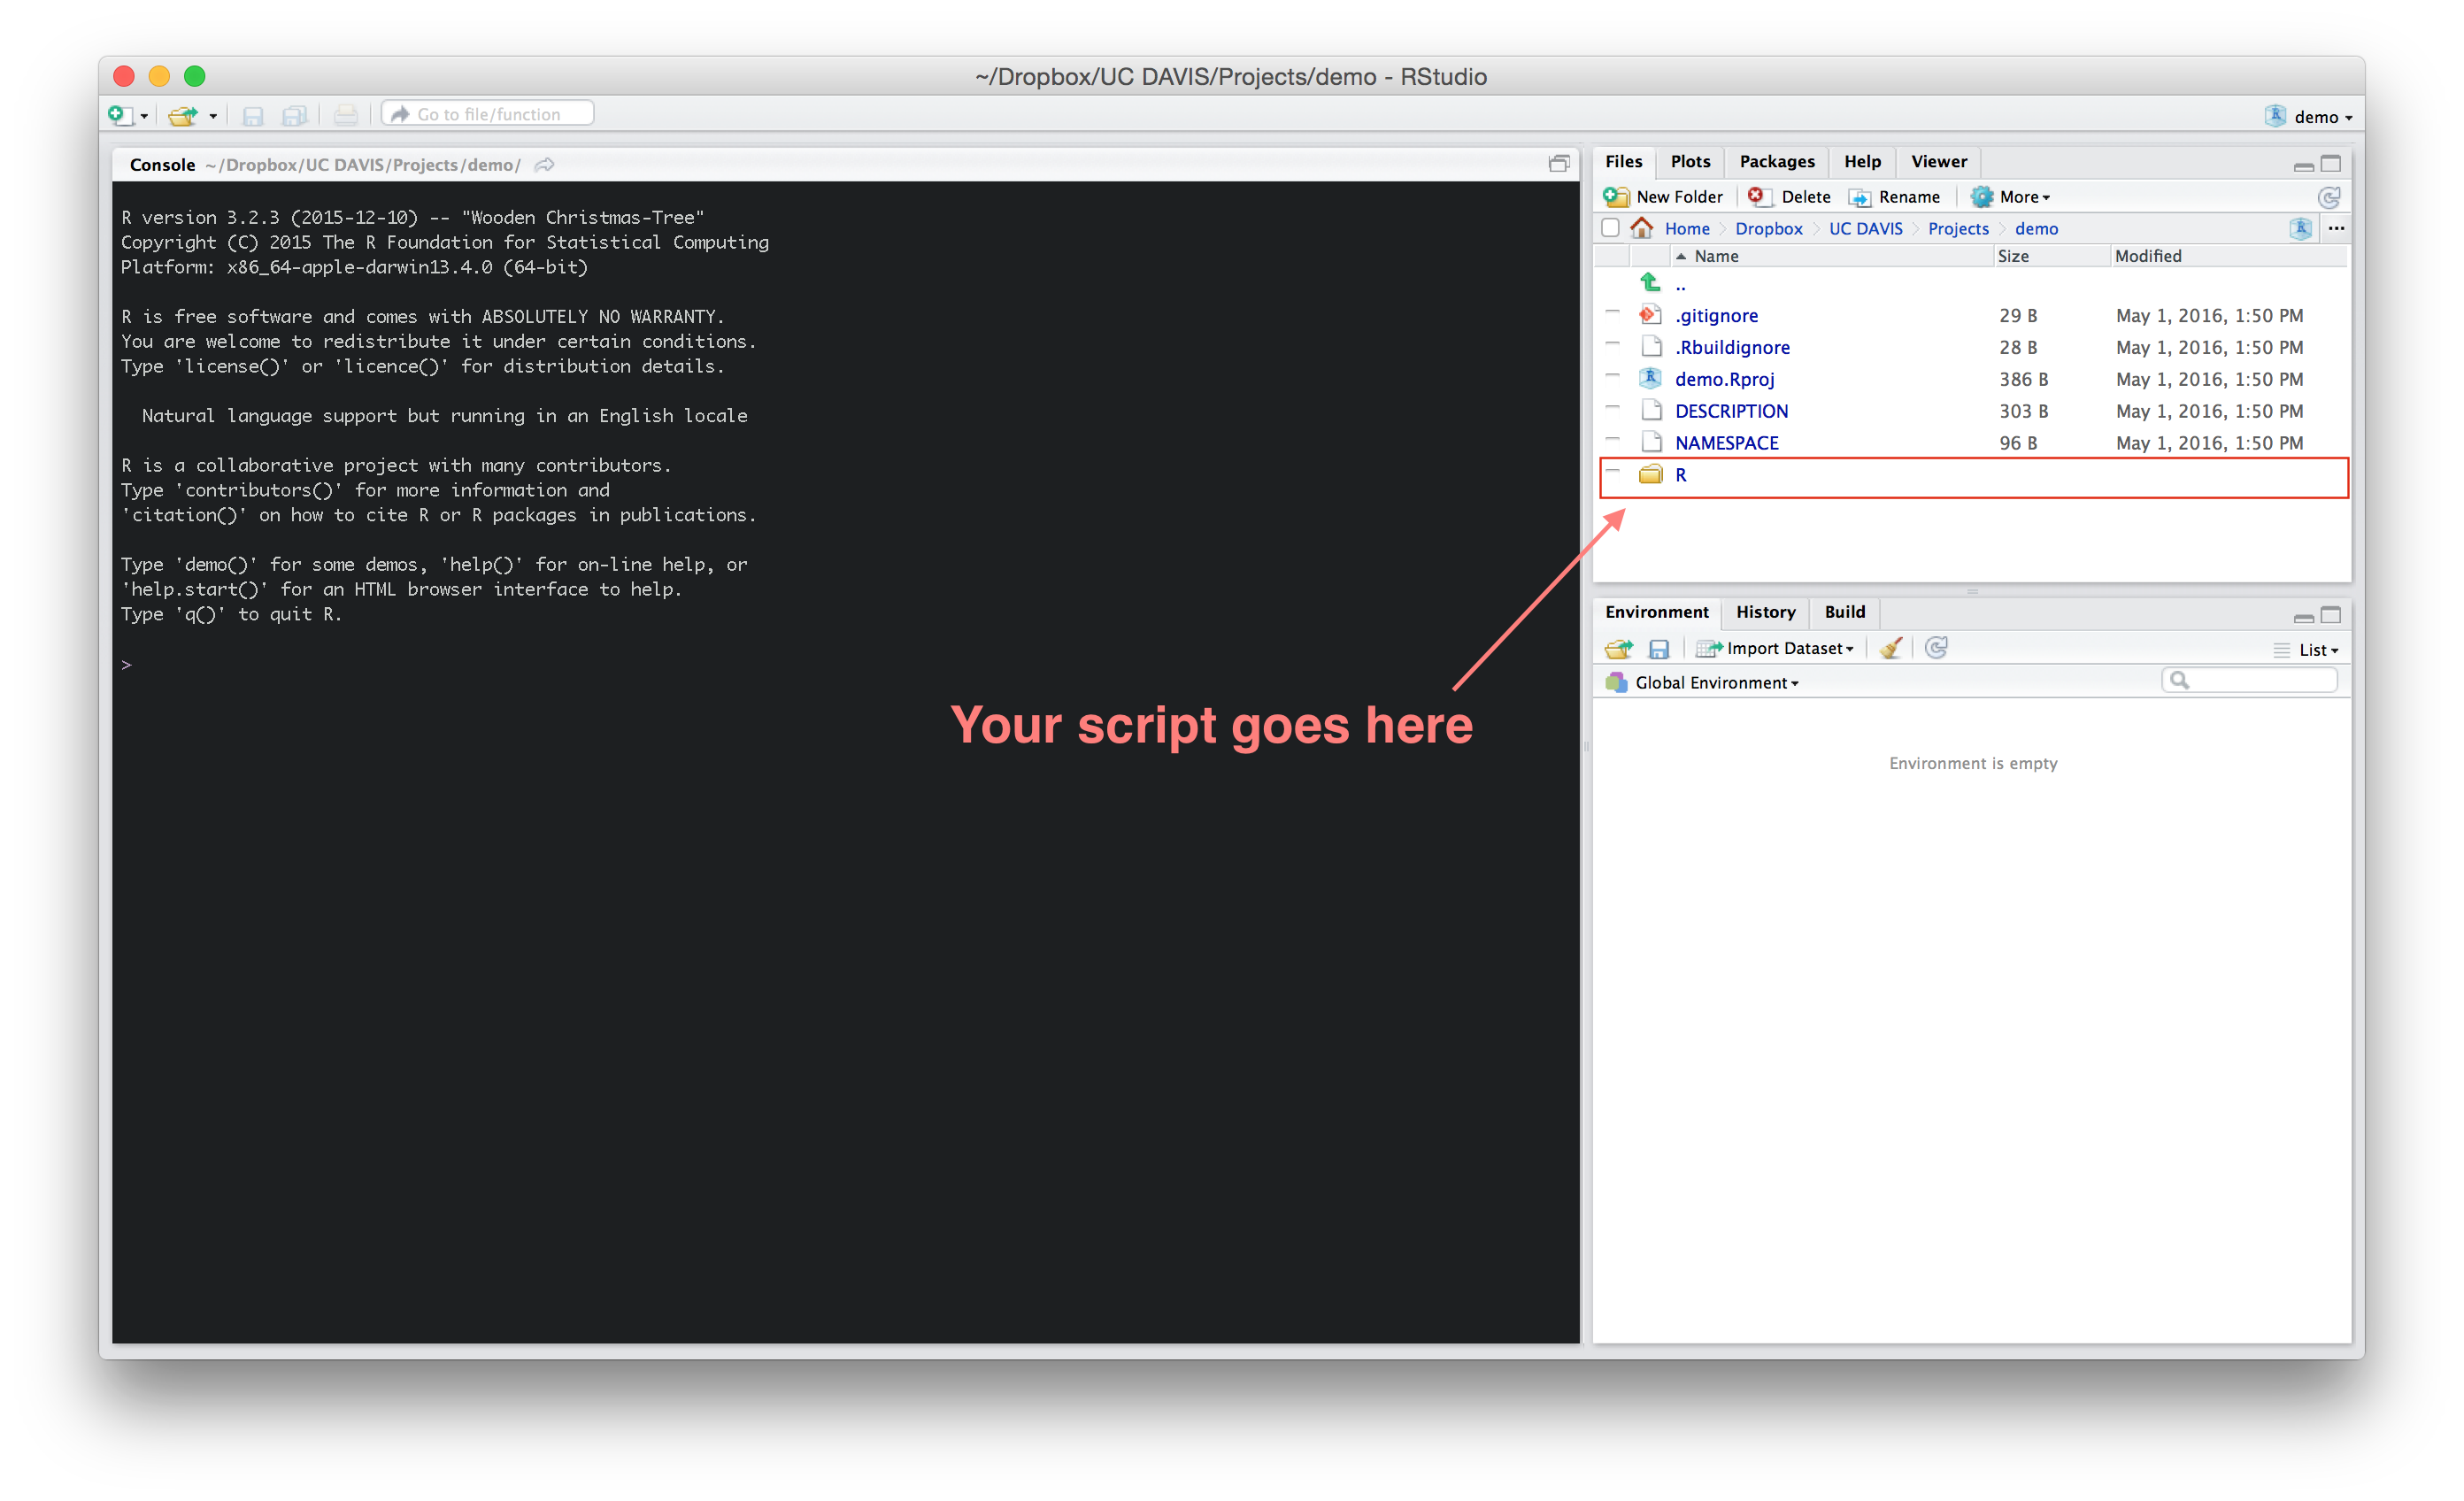
Now open the .Rproj file to start working on your package. You’ll see something like the image below. The R folder is where you’ll write and store all your R script.
Writing functions
One of the best things about packages is that they can be extremely helpful in organzing your own script, let alone something for others to use. When I found myself doing some detailed and sometimes convoluted work on my dataset, I thought others in my project might go through something similar in the future…and got started on tranforming my code into functions. But then for R beginners, it’s just that much easier to share your functions using a package instead of sending them your script to run. This will be a smoother transition into ongoing analyses, even though they’ll spend time learning R anyway!
So without further ado, let’s create a basic function which generates and plots random normal numbers (100, unless otherwise specified):
dplot_rnorm <- function(n = 100) {
  numbers <- rnorm(n)
  d <- density(numbers)
  title <- sprintf("Density plot of %s random normal numbers", n)
  plot(d, main = title)
  polygon(d, col = "lightgrey")
}
You can load and run the functions in your package with devtools
# Load the function(s) created in your package
devtools::load_all()

# Check out the dplot_rnorm function to see if it works
dplot_rnorm()
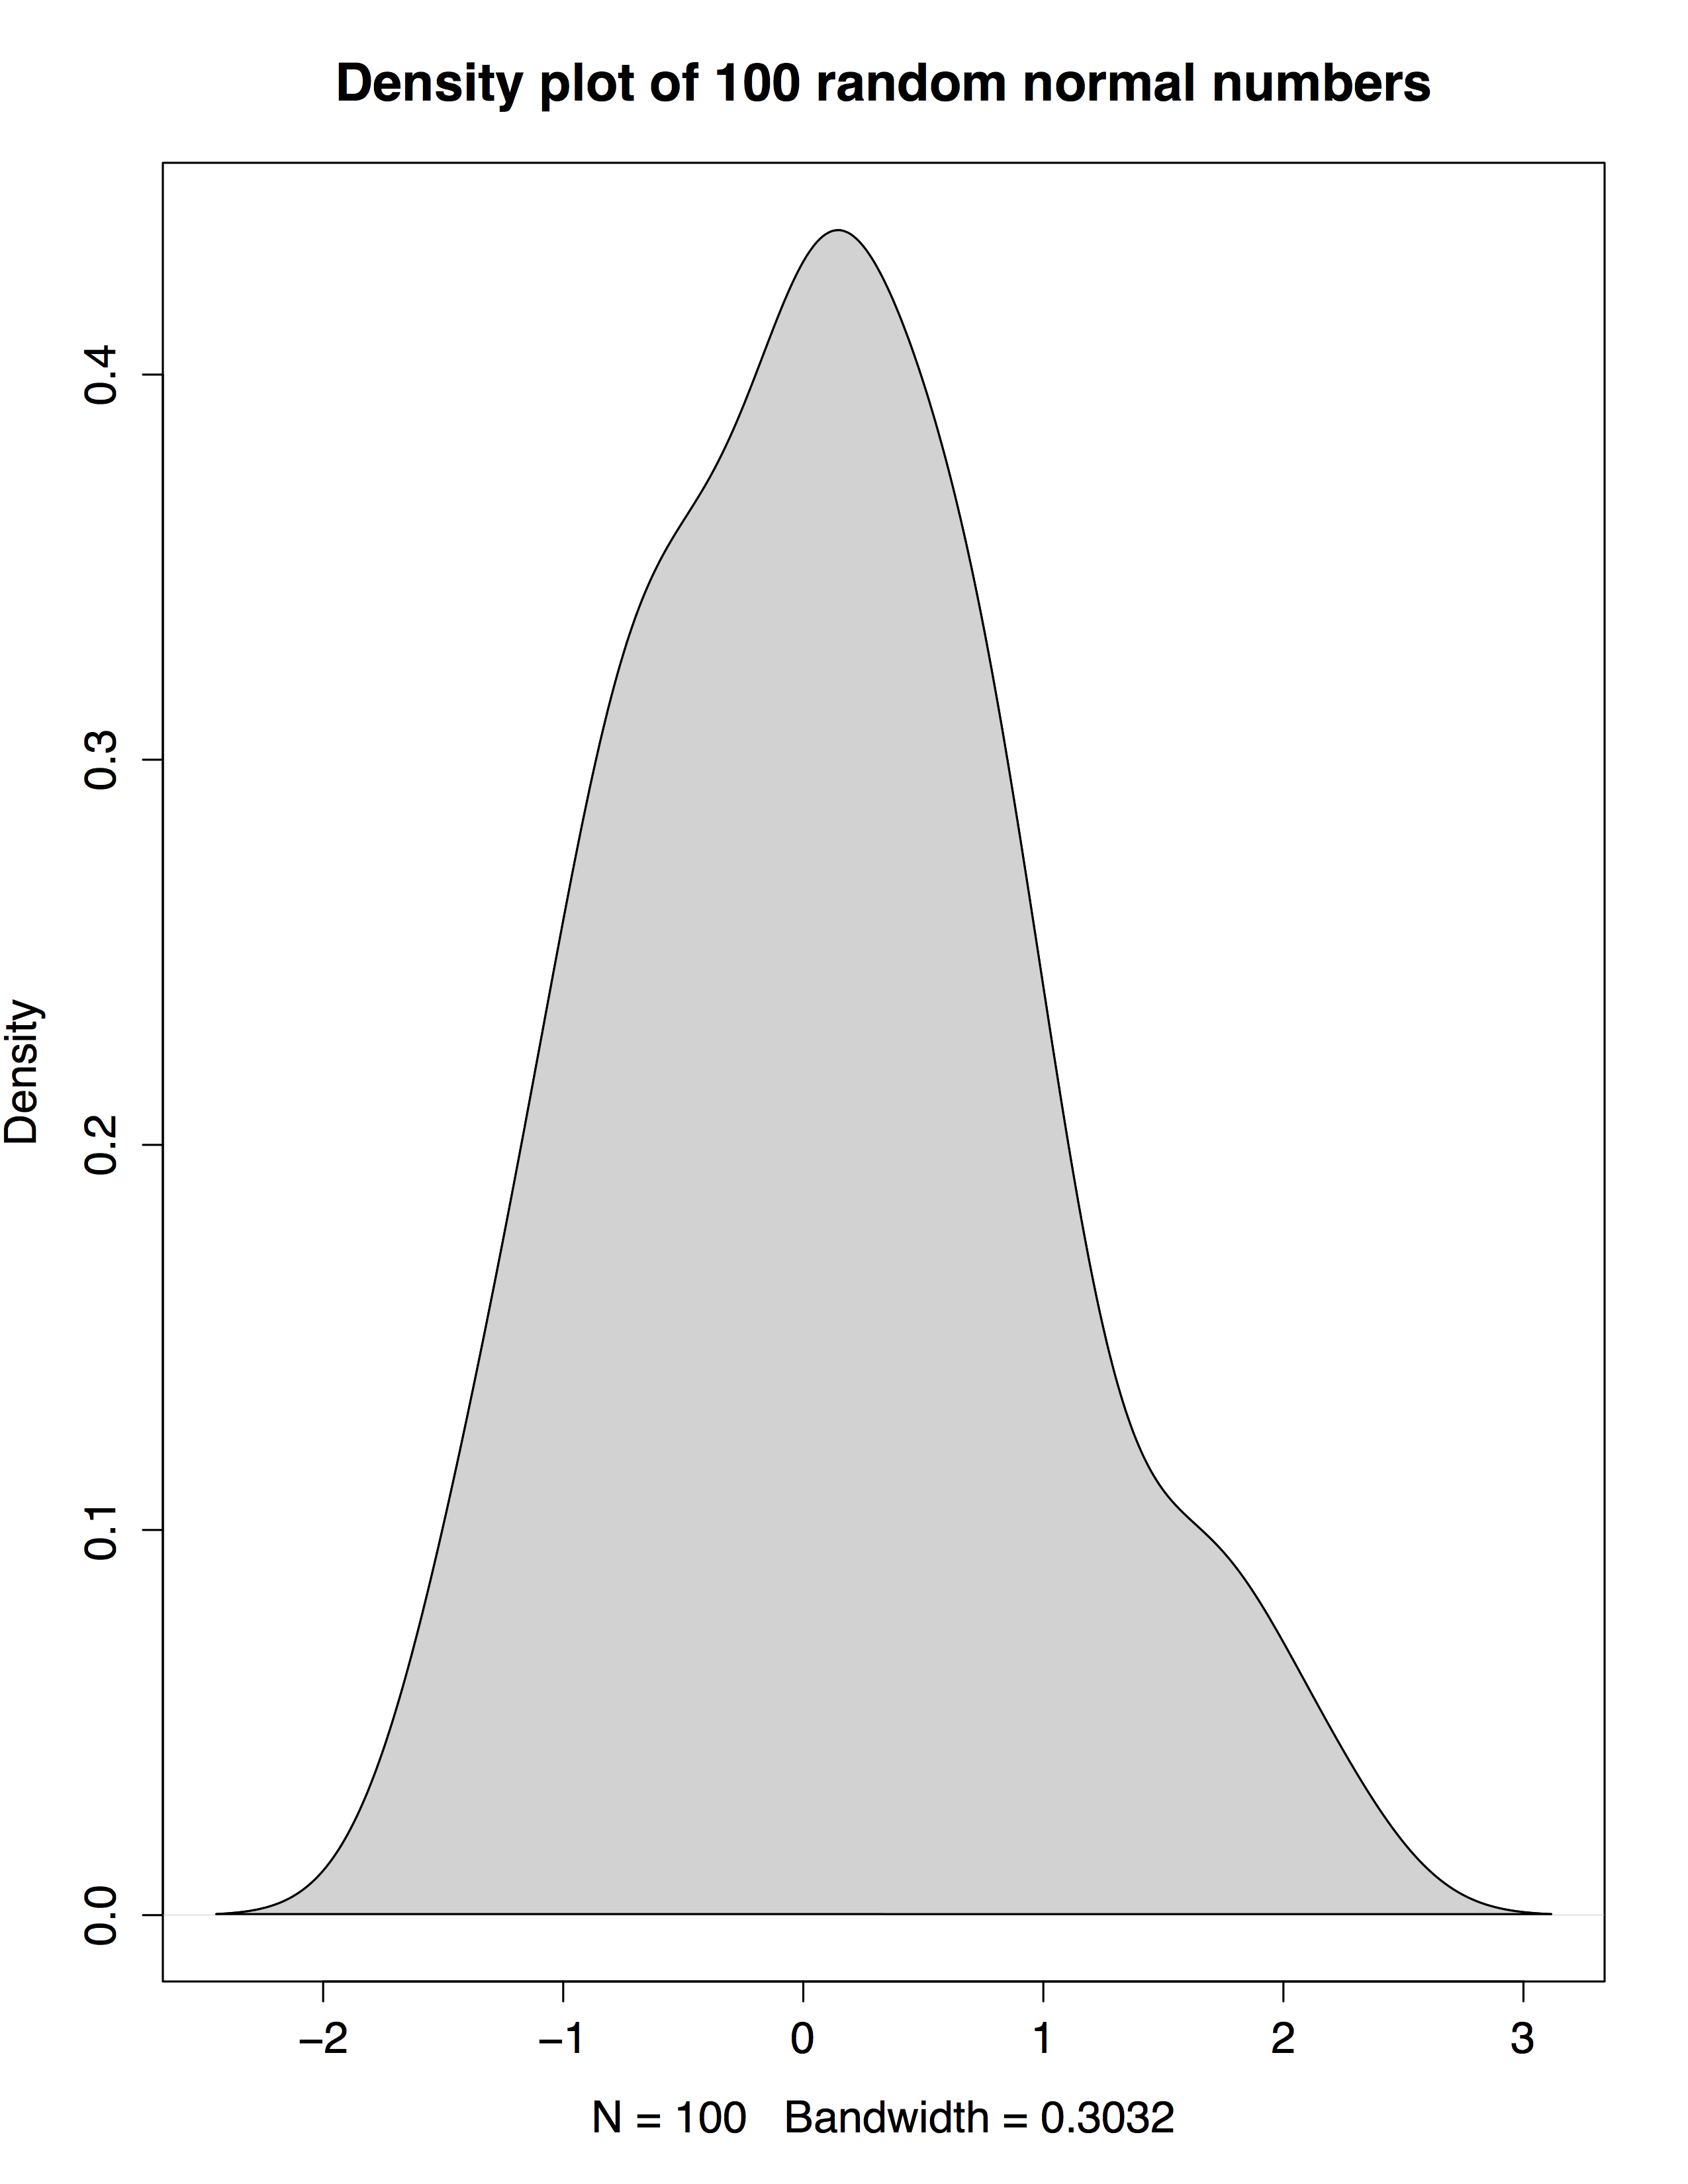
It does! Now we’d also like to add documentation for our function. The package roxygen2 is great for this because it significantly simplifies the documentation process.
#' Random number generator and plotter
#'
#' This function generates random normal numbers, and creates a density plot for them.
#' @param n number of random normal numbers you'd like generated (default is 100)
#' @keywords random normal, plot
#' @export
#' @examples
#' dplot_rnorm()
#' dplot_rnorm(n = 1000)

dplot_rnorm <- function(n = 100) {
  numbers <- rnorm(n)
  d <- density(numbers)
  title <- sprintf("Density plot of %s random normal numbers", n)
  plot(d, main = title)
  polygon(d, col = "lightgrey")
}
Now document your package using devtools, and check out the generated help file:
# Document package with devtools
devtools::document()

# See what the help file looks like
?dplot_rnorm

Another thing you might want to update is the DESCRIPTION file of yor package. Open it and see the default description, and update it as you’d like (it’s pretty self explanatory).
Voila! We’re done with our basic package.
What if some commands depend on another package?
You might find yourself needing to include commands from another package, for e.g. dplyr, or tidyr. They’re called dependencies, and can be added with (no surprises) devtools. I like leaflet a lot, so will use it as an example:
devtools::use_package("leaflet")
Now let’s write a function which calls leaflet:
#' Function with dependency
#'
#' This function depends upon another package (leaflet), and you need to include it with devtools. For more information on leaflet, visit their website:
#' https://rstudio.github.io/leaflet/
#' @keywords leaflet
#' @export

# Using leaflet in the function. Note how it's called below.
# If you don't already know leaflet, check it out at https://rstudio.github.io/leaflet/
quakes_leaflet <- function() {
  data(quakes)
  map <- leaflet::leaflet()
  map <- leaflet::addTiles(map)
  map <- leaflet::addCircleMarkers(map, data = quakes[1:20, ], ~long, ~lat, popup = ~as.character(mag), weight = 5)
  map
}
To see how it’s working, you need to repeat the devtools’ document and load_all functions again:
devtools::document()
devtools::load_all()

# Check its help file
?quakes_leaflet()

# Run the function
quakes_leaflet()
Installing your package as a local file
After you’ve wrapped up the package and it’s good to go, you can install the package via:
# Install demo
install.packages("path/to/demo", repos = NULL, type="source")
library(demo)

# Run a function from demo or look at a help file
??quakes_leaflet
quakes_leaflet()
That’s it!
What if you want to use git/github with your package?
To enable version control using git and github, and subsequently host your package on github, change your project settings via Tools from the menu bar. If you don’t intend to use git/github, skip the following steps:

From Git/SVN in the project options, choose git.

You’ll see git options in your project window now:

You can now commit changes and push the contents of the package to your github repository.
To install a package (e.g. the demo package I just created) from the github repository:
devtools::install_github("nistara/demo")
Resources/References
Hope you’ve learnt enough to get started with making packages. My main references were:
Hadley Wickham’s book, R packages, and
Hilary Parker’s short and sweet (and very helpful) post on writing a package from scratch.
There are a few different ways to go about writing your package, and this is just one of them. For a deepr plunge into package making, I highly recommend going through Hadley’s book.